How to Make Textured Ceilings Smooth Again Without Putting Up New Dry Walls
Tabular array of Contents
- Smoothing Your Textured Walls
- Step by Stride Instructions:
- Tools Needed
- Step 1:
- Step ii.
- Stride iii.
- Footstep 4.
- Step 5. Finished Results:
Smoothing Your Textured Walls
Before moving to Texas and building a house, I didn't realize the wide diversity of texture finishes that are possible on drywall. Where I grew up in Utah, walls were always smooth, and the heavy texture that seems to be the norm in Texas and many other southern states feels unfinished to me. And then, I've decided to tackle the texture myself by smoothing it out with a skim glaze before I paint or wallpaper each room.
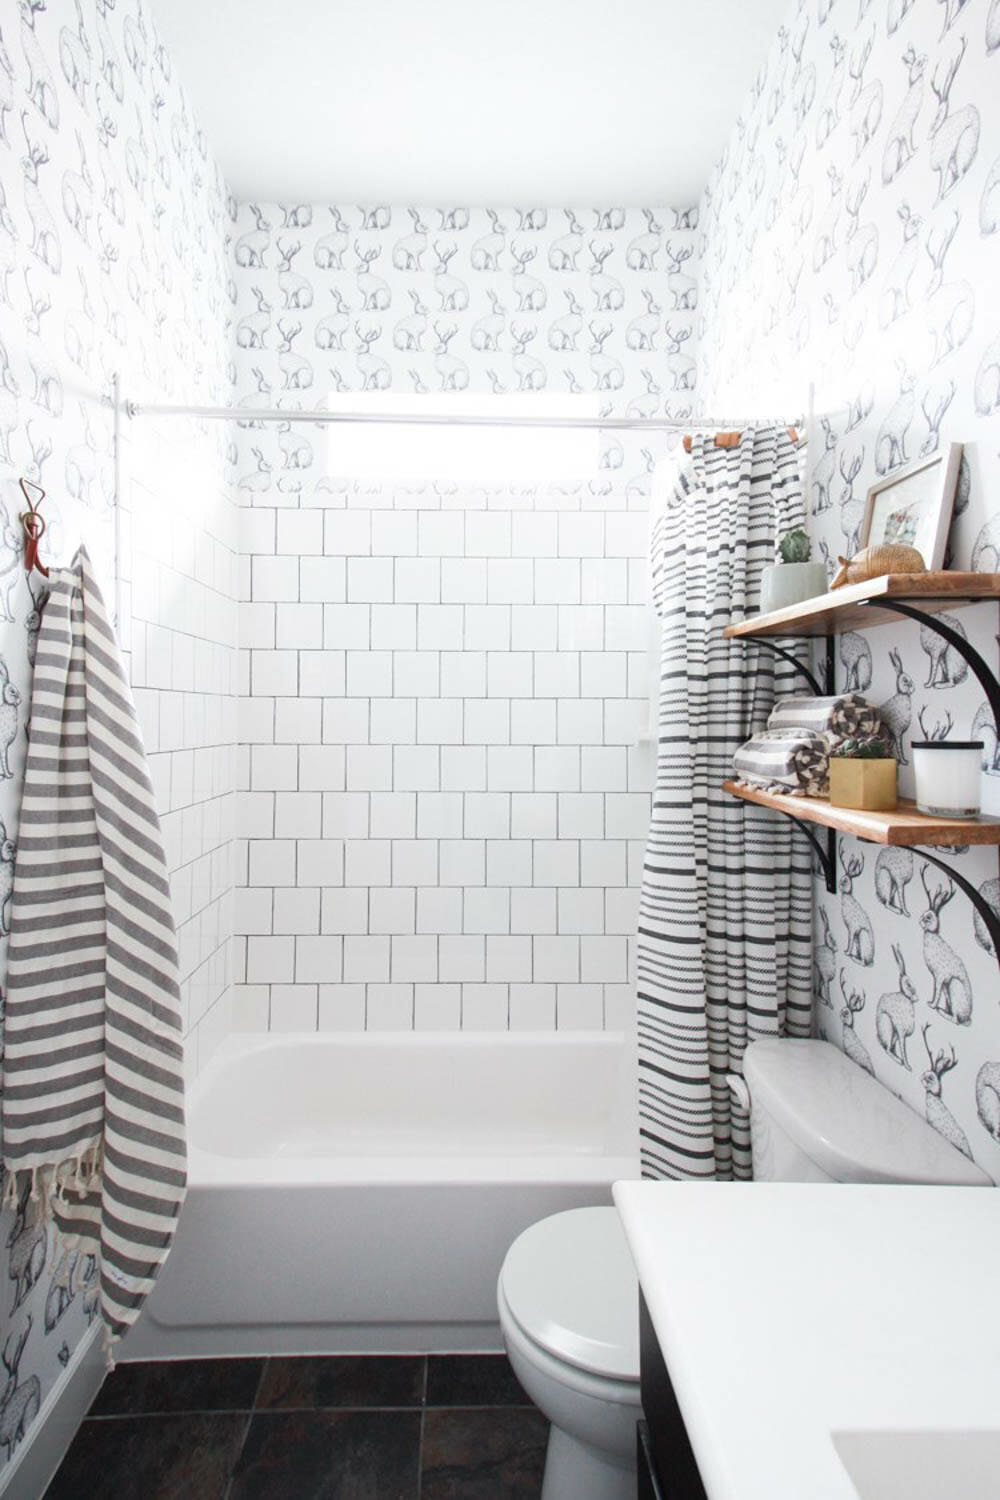
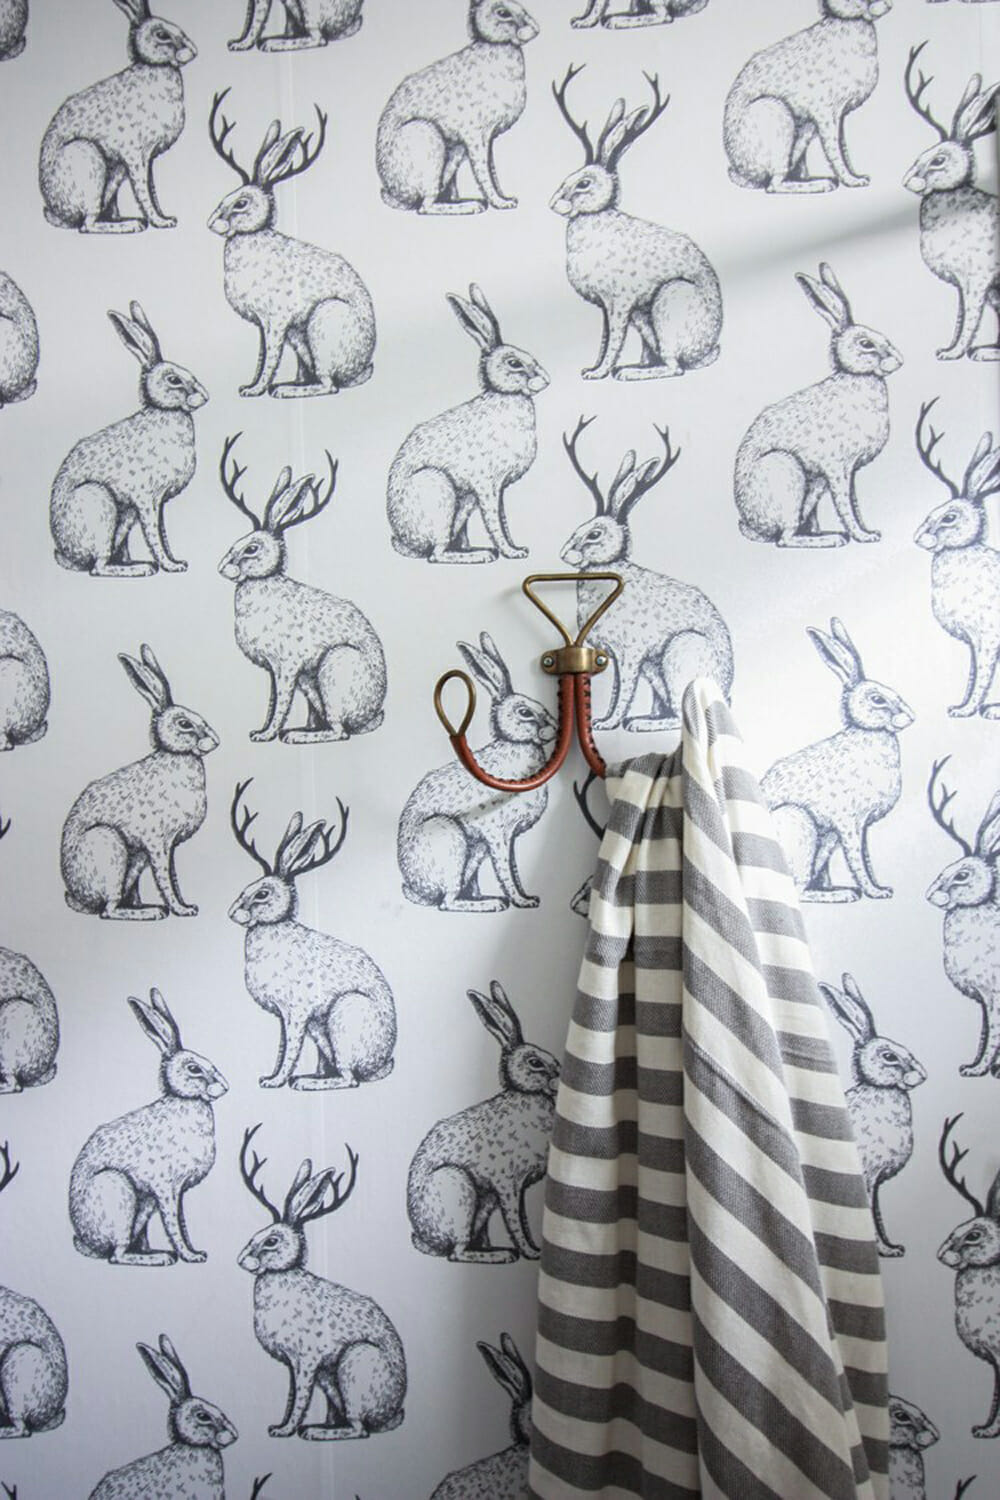
I started the process in this small bathroom, where I was planning to add together some fun jackalope wallpaper, but couldn't wallpaper over the thick texture. After lots of enquiry I adamant that a simple skim coat would do the play tricks to smooth the walls enough to add the paper. Adding the skim coat to smooth the textured walls was super inexpensive and a very simple process.
You can rent a painter to smooth textured walls, but the price for labor would have put the project out of my budget. The cost of supplies and doing it myself put the total investment around $50 and 5 hours. Not bad for the huge impact.
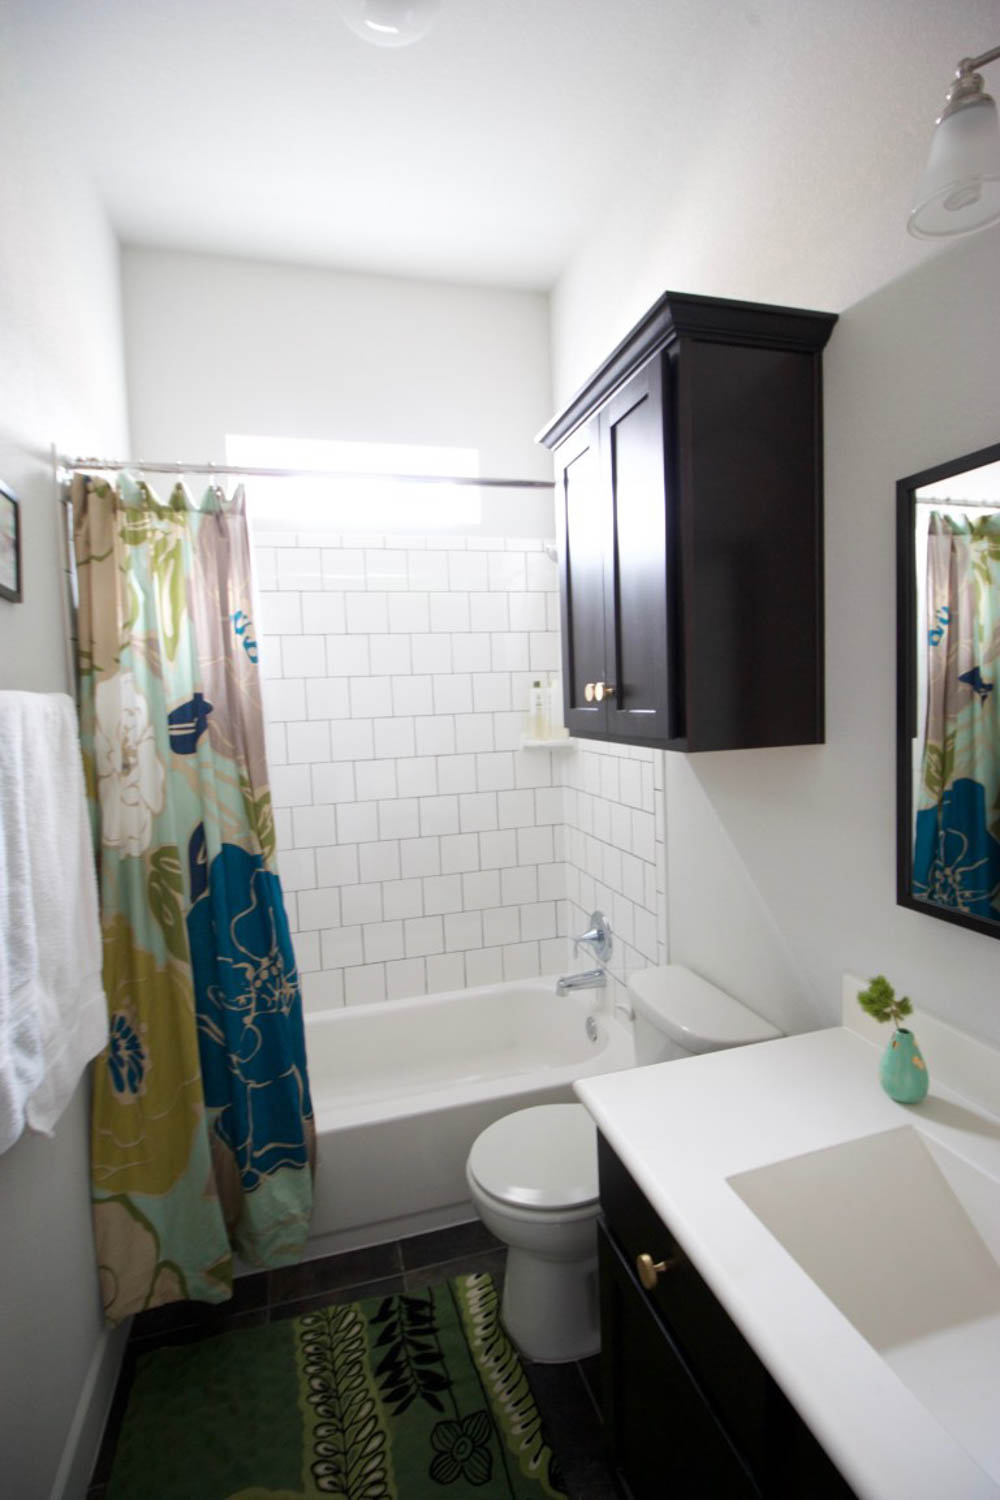
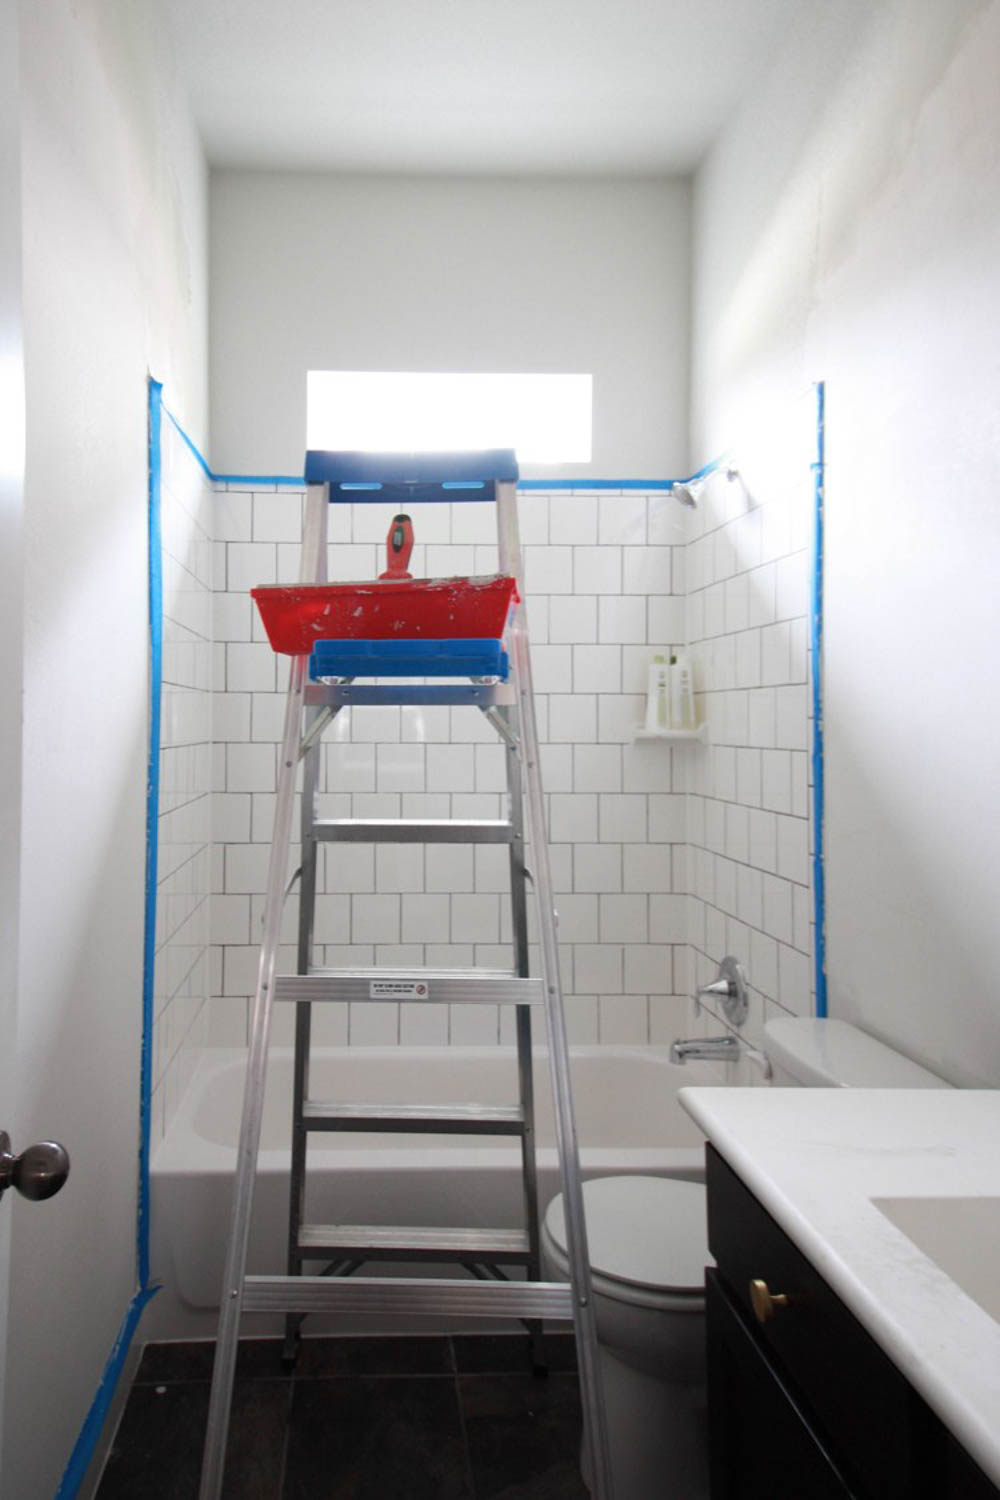
Here is the bathroom before. I was told that the walls get this orange pare texture treatment to hide imperfections in the sheetrock seams, but I've lived in a lot of places with sheetrock and flat walls, so I'm not sure what is really going on. What I do know is that I don't honey it.

The procedure of smoothing textured walls with skim coating is fairly mutual. Information technology refers to spreading a layer of articulation compound over the walls to fill in the bumps and valleys in the texture, effectively creating a shine surface. The texture itself is fabricated of a spray-on joint compound, and since my walls were painted with a flat pigment, I had no prep work before I got started. I looked at a few tutorials before attempting on my ain, and as I began I actually developed a little different method that really worked rapidly and easily.
Step by Pace Instructions:
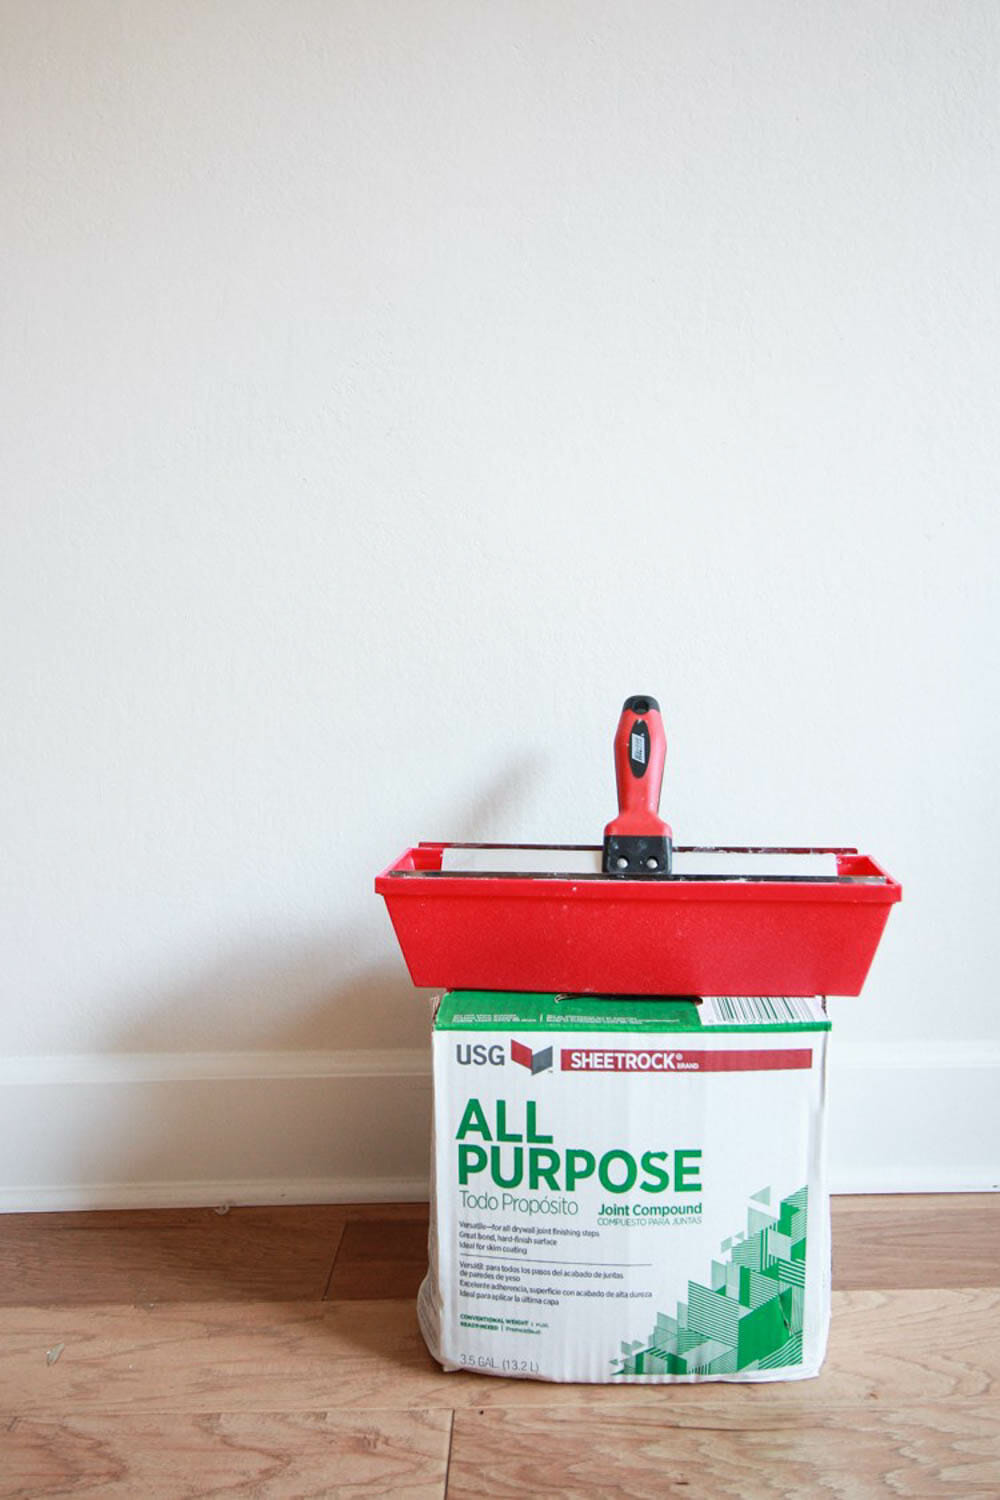
To shine your textured walls with a skim coat, yous will demand:
- All-Purpose Joint Compound – (Sold at Abode Depot – bucket is is the best.)
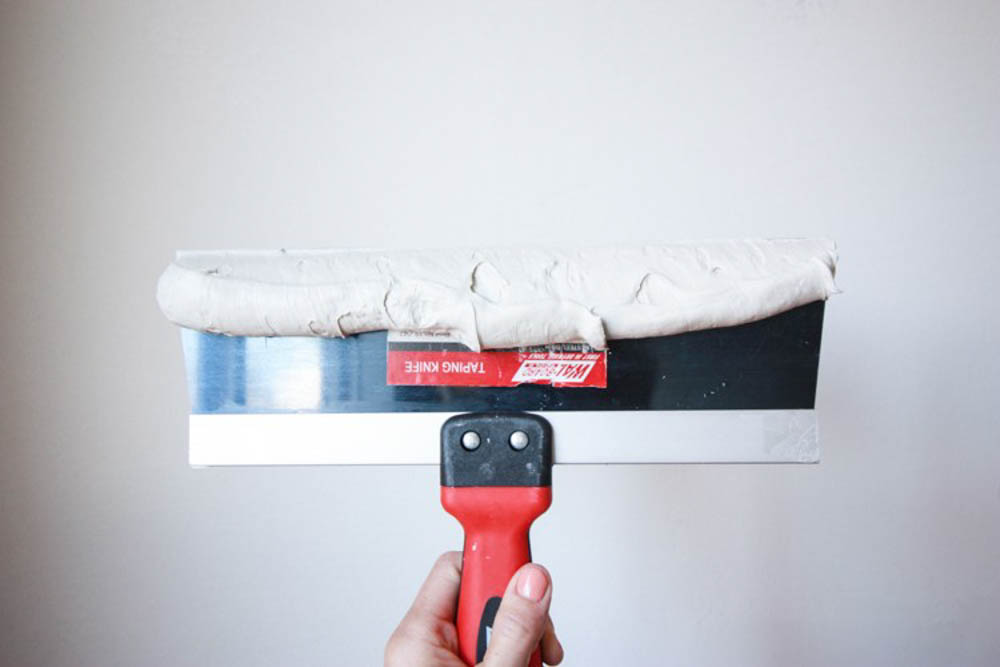
- 10-12 inch Taping Knife
- 14 inch Mud Pan
- Smaller putty knives for details
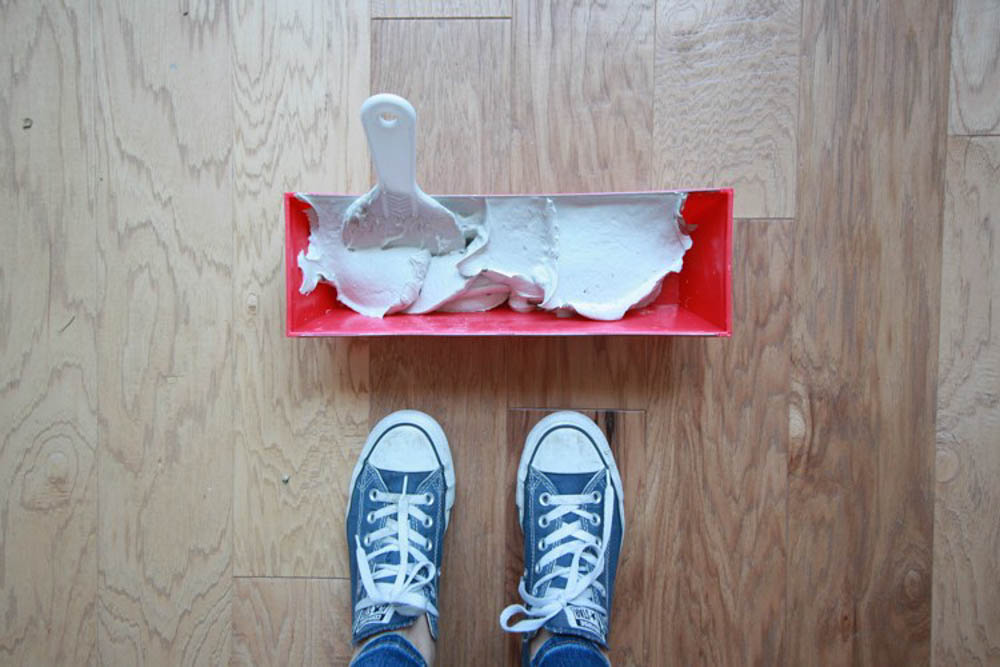
Footstep 1:
Scoop some of the pre-mixed compound into the mud pan. It has the texture of creamy peanut butter. The process of layering it onto the wall is likewise a picayune like smoothing peanut butter onto a piece of bread and going all different directions until it stays perfectly shine.
Step 2.
Once you have the mud in the pan, utilize the longer taping knife to scoop a couple inches of chemical compound upward, then with the mud facing the wall, simply spread in a smooth move down the wall.
You'll find that the long taping pocketknife makes creating a smooth surface pretty simple. Scraping correct on height of the existing texture, pulling the compound down the wall will showtime to fill up the holes in the texture and create a smoothen surface.
Step iii.
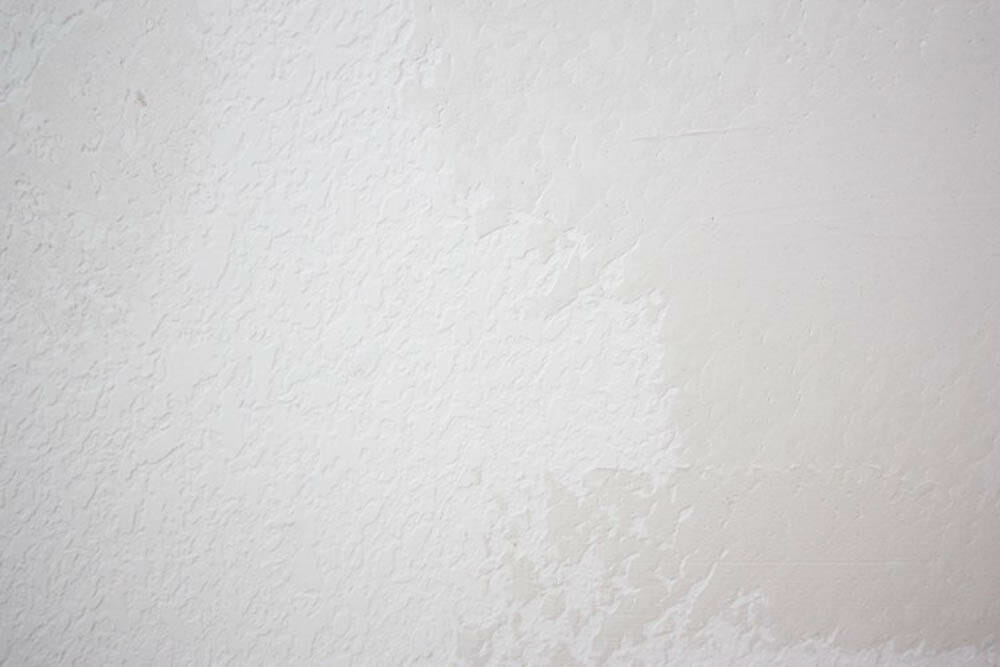
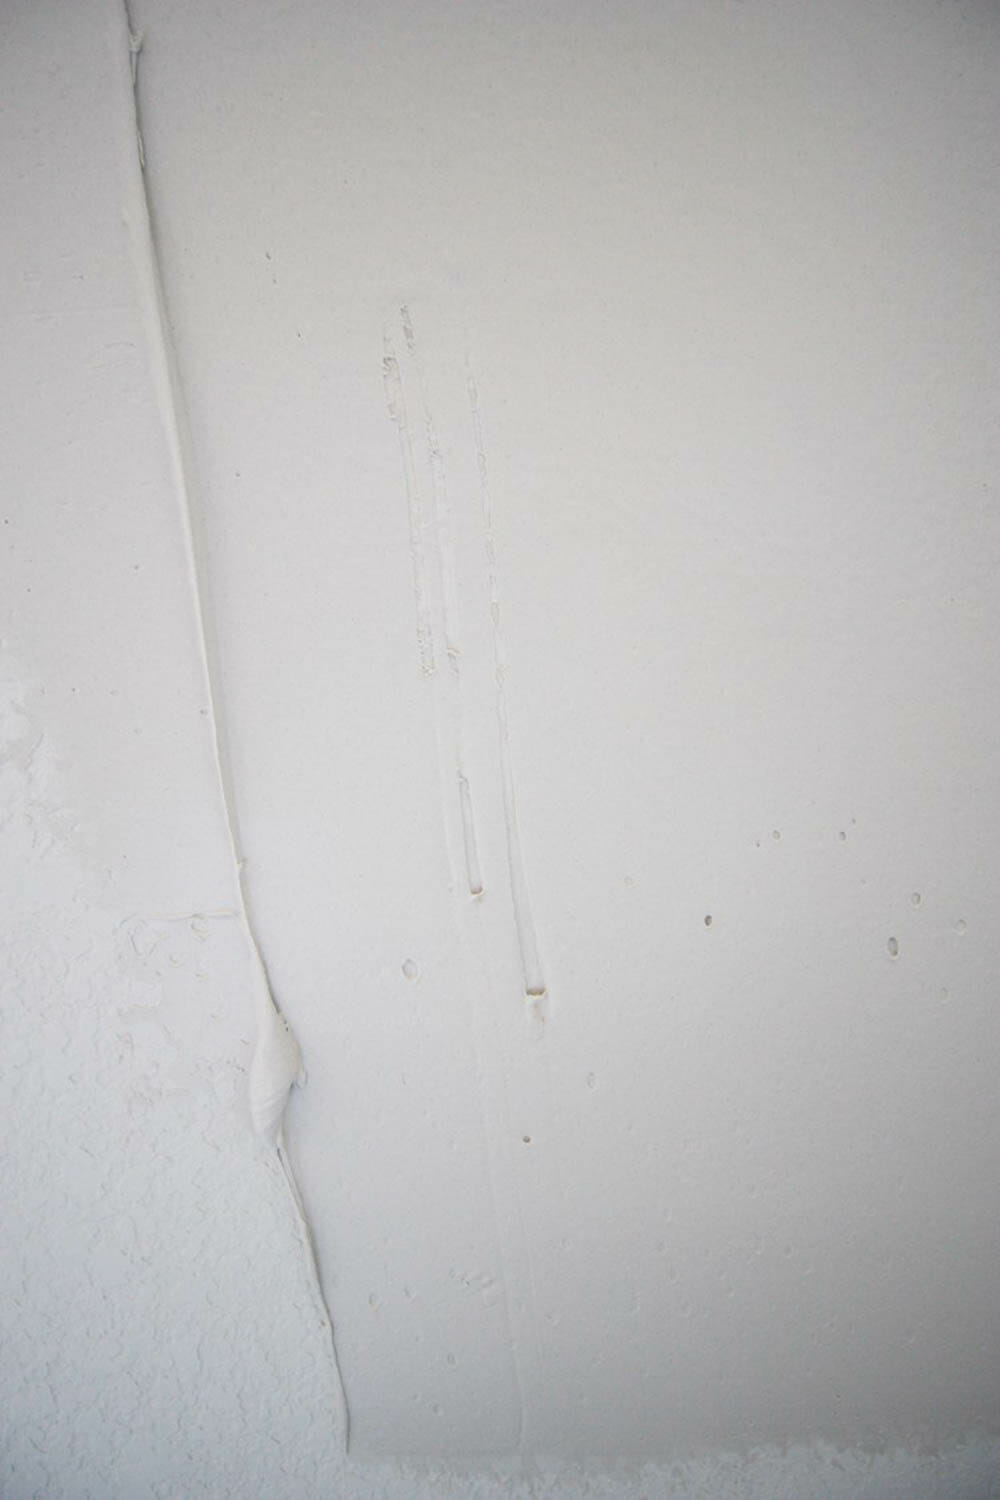
Work in nearly a 2-foot surface area by pulling the compound down and downward, and then dorsum and along in polish motions until it begins to set up a little bit. As it dries, the compound becomes harder to scrape, and then the final swipes with the taping knife can create a fairly smooth surface without a bunch of seam lines. You can run across the difference between the skim-coated surface on the bottom of this shot, and the textured wall below. What a deviation!
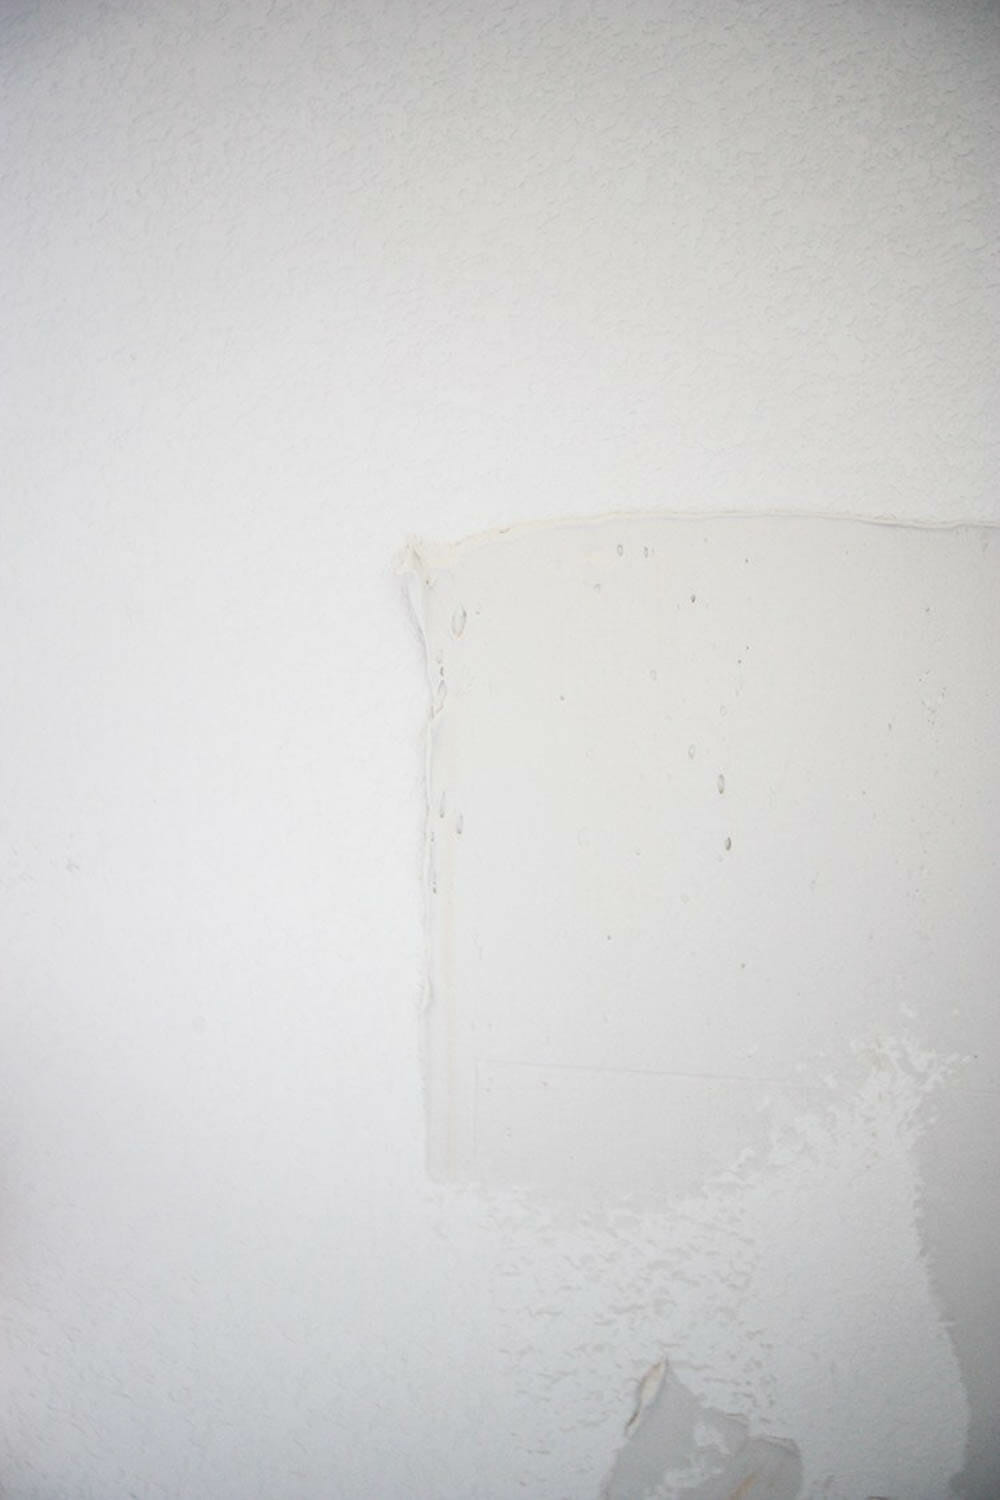
You lot can see that the compound can have bubbling in it, and you may observe some air bubbles forming every bit you spread the mud on the walls. Don't worry, yous'll hands be able to smooth those out further every bit the coating dries, and even add more mud if you need to.

As yous end spreading in one surface area, scoop another inch or and then of mud and motility onto the adjacent expanse. With the large pocketknife and some efficient scraping, you'll be able to make great fourth dimension. I was able to start and finish the bathroom skim glaze in about 4 hours.
Footstep iv.
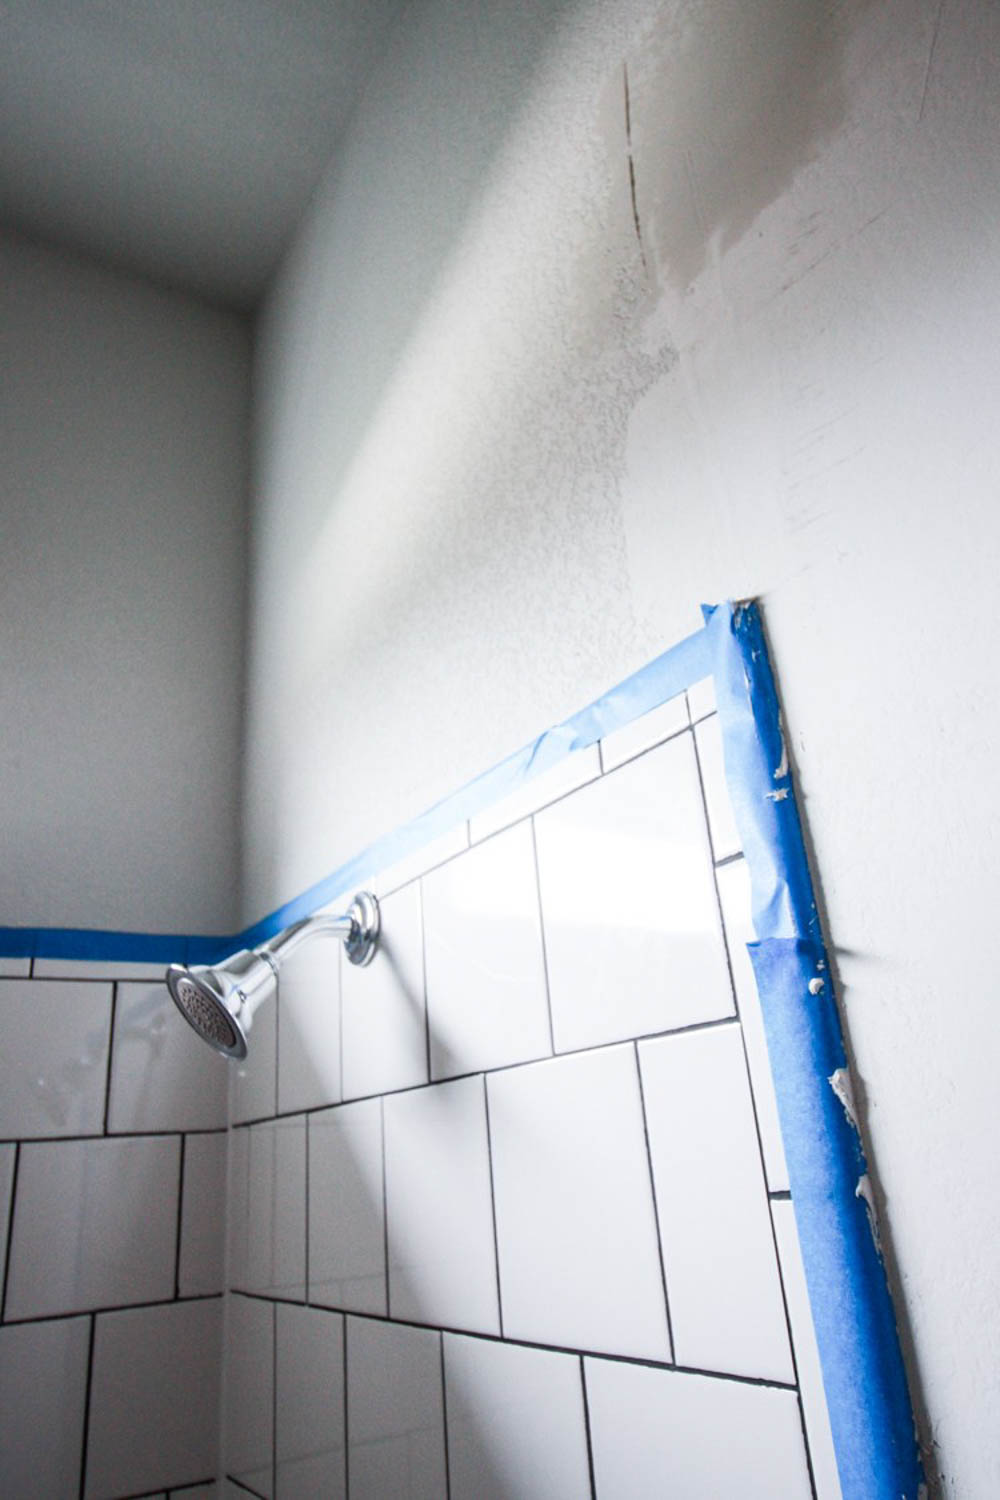
To skim coat around the tile and fixtures, I taped it all off every bit I would have had I been painting. The articulation compound is super easy to make clean-up once information technology's dry, because it's basically dried powder. I used the ladder to achieve the tops of the walls. I decided against skim blanket the ceiling (I'm planning to add some wood planks eventually).
Once the skim glaze has dried, examine information technology for major rough areas, or fallen globs of mud. These can all exist carefully smoothed with some sandpaper. Once the walls are smoothed and sanded, you're ready to paint or add wallpaper!
Pace v. Finished Results:
I dearest the finished expect of my smooth, wallpapered walls. Yous can detect more details about this guest bath here, and see some more walls I smoothed to paint in my newly redesigned Indoor Patio Room!
Expert luck with your own wall-smoothing project!
Source: https://modernize.com/homeowner-resources/other/how-to-smooth-textured-walls-with-a-skim-coat
0 Response to "How to Make Textured Ceilings Smooth Again Without Putting Up New Dry Walls"
Post a Comment